Looked at the suggested web site that has information on Fibonacci Sequence in nature [updated URL: http://www.maths.surrey.ac.uk/hosted-sites/R.Knott/Fibonacci/fibnat.html] --- FASCINATING!!! As a farmer, I will watch for this pattern as the summer crops come out. ☼ We have four or five tiny asparagus already, but didn't see the pattern there... the winter broccoli is about in its final stages. Looks like it needs a haircut - no pattern detected there ;-)
+ * + * + * + * + * + * + * + * + * +
Following the instructions, chose several previously printed papers, assorted them by tones, glued down (9.1).

9.1 Tonal column
Then cut them in the Fibonacci series of proportions, measured as .5 cm, 1 cm, 1.5, 2.5, 4, 6.5 (9.2)

9.2 Tonal column cut in Fibonacci proportions
Then, using these strips, rearranged them in alternating directions (9.3).

9.3 Alternated strips
Took a patterned paper and a sheet of black. Cut both into the proportions, realigned them, like shuffling two halves of a deck of cards ;-) (9.4).

9.4 Patterned and black papers
Rotated the new block and cut it again in the Fibonacci proportions (9.5).

9.5 New pattern evolves
9.6 Above pattern with
strips reversed

9.7 Fractured design
from new block
Took copies of block in 9.7, cut them into equal widths and placed them in order to create a log cabin patchwork design (9.8).

9.8 Log Cabin patchwork
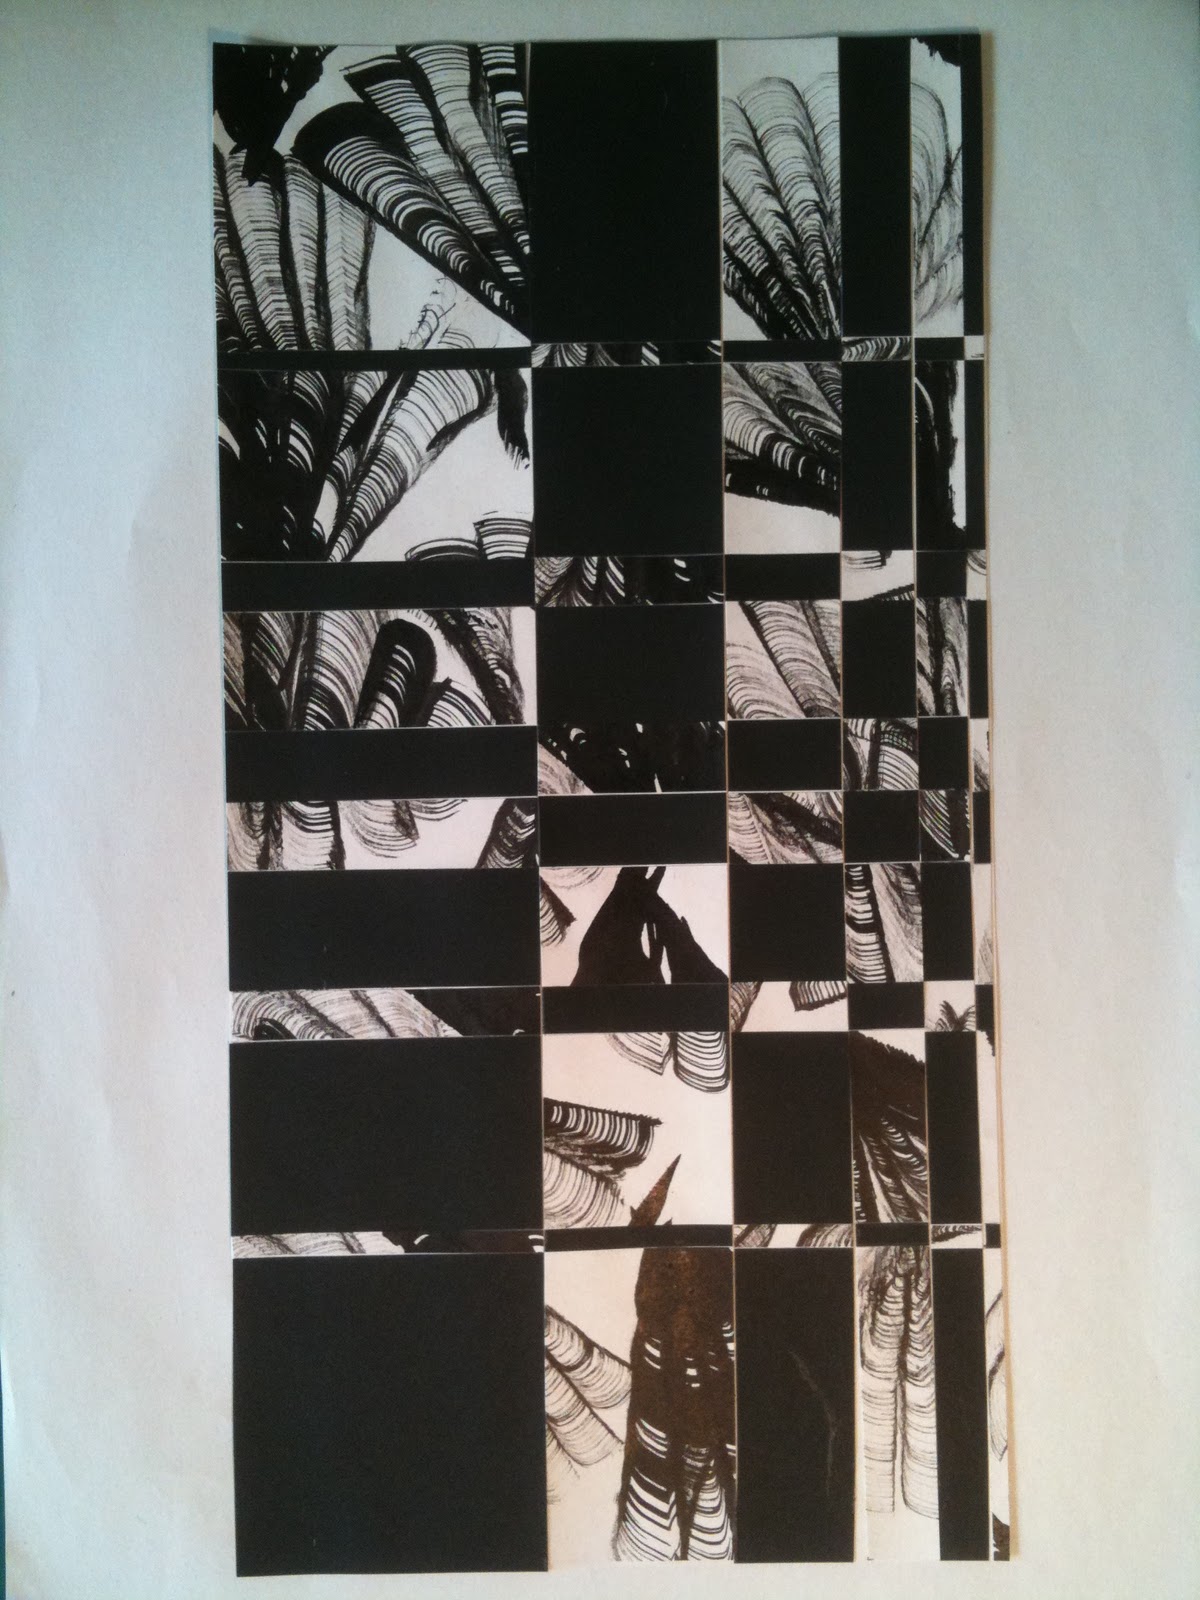
Used copies of the same block, cut into Fibonacci proportions, glued down on black paper. Turned the new block 90 degrees and again cut it in the same proportions, glued down on white paper. Continued this process two more times. I was curious as to 1) how many times this could be done (infinitely, I suppose, depending on your knife), and 2) what the end results would look like (9.9).

9.9 Fibonacci sequences
carried out four times
Finally, took new pieces of printed papers cut into Fibonacci proportions and arranged them in the Golden Section pattern (9.10).

9.10 Golden Section
sample 1
And another, using Fibonacci sequence proportions as radius of each circle in 9.11.

9.11 Golden Sequence
sample 2
Learning observations:
This chapter was easy to do and the results were striking (my favorites: 9.6, 9.7, 9.8). As with the other chapters in this module, I again wondered what the results would be if these samples were done in color.
Learning about the Fibonacci Sequence was interesting. The Golden Section arrangement would be a lovely way to display artwork on a wall, to create a poster or other advertising, etc. I will keep an eye out to see where and how this is being used.
Safety observation:
I used a rotary cutter. When cutting very narrow strips, it's important to be extra careful so that 1) you don't cut yourself, and 2) you don't make unwanted slits which make it difficult to glue down the strips.
Production observation:
It's important to make sure you have enough glue over the entire surface of the paper your are gluing down. If there isn't enough, especially in something like 9.9 above, tiny pieces will fall off as you cut through the strips or otherwise manipulate them.
- * - * - * - * - * - * - * - * -
Total hours Chapter 9: 9.5 hours